26
November
2019
Step by Step Guide for Replacement of a Car Engine
A car is a convenience that many cannot afford to go without; even car wreckers Brisbane operators recognise that having your own vehicle not only saves time but also lets you travel on your terms. Though mechanics and garages are widely available, emergencies happen, and sometimes you need to repair the car immediately. In those moments, understanding the basic parts of your vehicle is a tremendous asset.
So, here’s the step by step guide for replacement of a car engine.
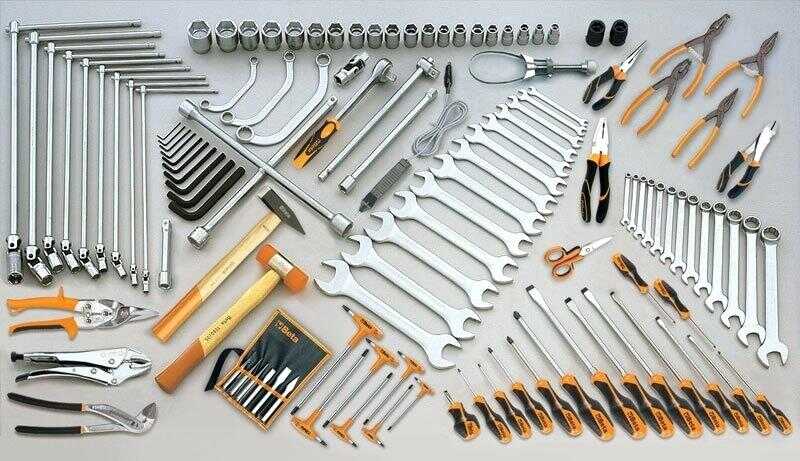
- Preparation for car engine replacement– Before the replacement of car engine begins, it is necessary to ensure that tools, bolts, drainage pan, and probably a box to store the removed parts till you put them together again. And when you have all the necessary tools, the engine replacement will become that much easier.
 Separate the engine from the car– The first step is to isolate your engine from the connected parts and wiring. To begin, you need to
- Remove the hood and front bumper from the car – Removing the hood and bumper will give you enough space to move around while removing other components. To remove the hood, locate the screw and unscrew them carefully. After lifting the hood, and taking out the bumper, put them in a safe place to avoid scratching or damaging. And put the screw back in the car so that you don’t misplace them.
- Drain the liquids from the engine and radiator – The engine contains various essential liquids for the car, including engine oil and coolant. Ensure complete drainage of the engine oil and coolant before proceeding. It is important to note that drained liquids can only be reused if recycled.
- Disconnect the battery, coolant line and exhaust pipe – The next step is to disconnect the exhaust pipe, the intake and the coolant line. Also, disconnect the wiring. Refer the manual carefully to ensure that you disconnect things correctly. Be sure to remove the battery before you begin to disconnect to avoid any short circuit.
- Disconnect the engine mounts from transmission – This is the last step in separating the engine from the system. Usually, there are two mounts that connect the engine to the transmission. So, to remove the engine, you will have to detach the engine from the chassis and the transmission.
 Separate the engine from the car– The first step is to isolate your engine from the connected parts and wiring. To begin, you need to

- Remove the old engine from the car– Once you have the engine jack in place, you can attach the engine to the crane for pulling it out. Be sure to do it carefully and slowly. Also, ensure that the engine is not connected to the car while removing or it may damage the engine permanently. Once the crane is in place you can lift up the engine and make a place for the new one.

- Install the new engine in the car– Put the new engine with the help of a crane. Once it’s in place connect with all the parts as before. Ensure to connect all the bolts, wires, pipes and batteries exactly as before. Once all bolts and connections are in place, replace the fluids. Your new engine is good to go. Complete the process by putting back the bumper and the hood of the car. Start the new engine and let it run for some time before heading out.